
Map a custom domain to BlogSpot Blog
In this tutorial, you will learn how to map a custom domain to the BlogSpot account. Blogger is a publishing platform for publishing blog posts. This is owned by Google and is absolutely free. All free blogs are hosted as a sub-domain of BlogSpot but you can also have a custom domain to publish your blog posts.
Requirements
You will need the following to map a custom domain to BlogSpot
- A custom domain
- A blogger account
- Privileges to edit your DNS
Settings in Blogger
- Log into your Blogger Account.
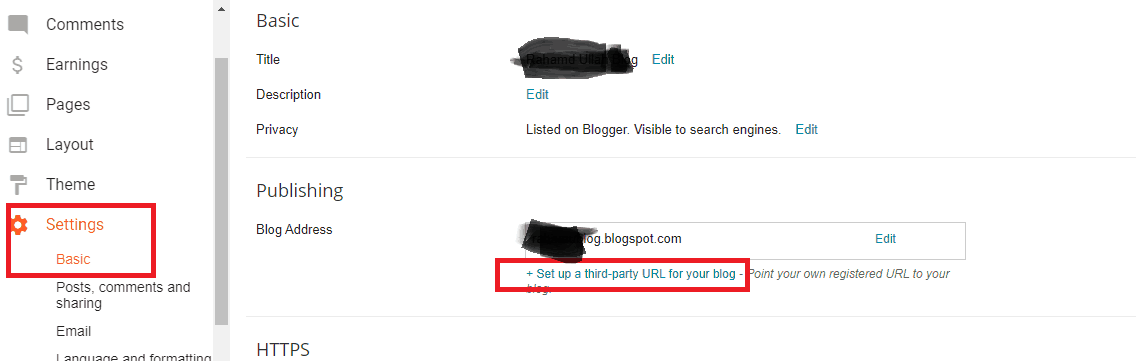
- Select Settings>Basic.
- Under “Blog Address”, click on “Set up a third-party URL for your blog”.
- Type the domain name you want to map to your blog.
- Click on Save.
- It will give an error message with two CNAME records. You should take a screenshot of the error message.
Provide this screenshot to your hosting provider. He will edit the DNS Zones for you. If you want to do it yourself, read the next topic of “Adding DNS Records”.

Adding DNS Records
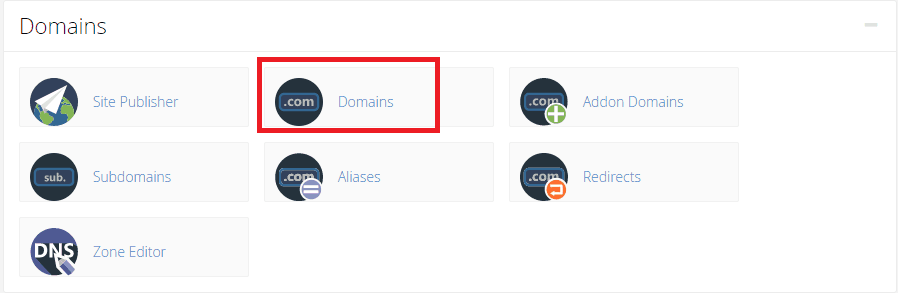
- Log into your Cpanel Account.
- Select Domains from the list of available options.
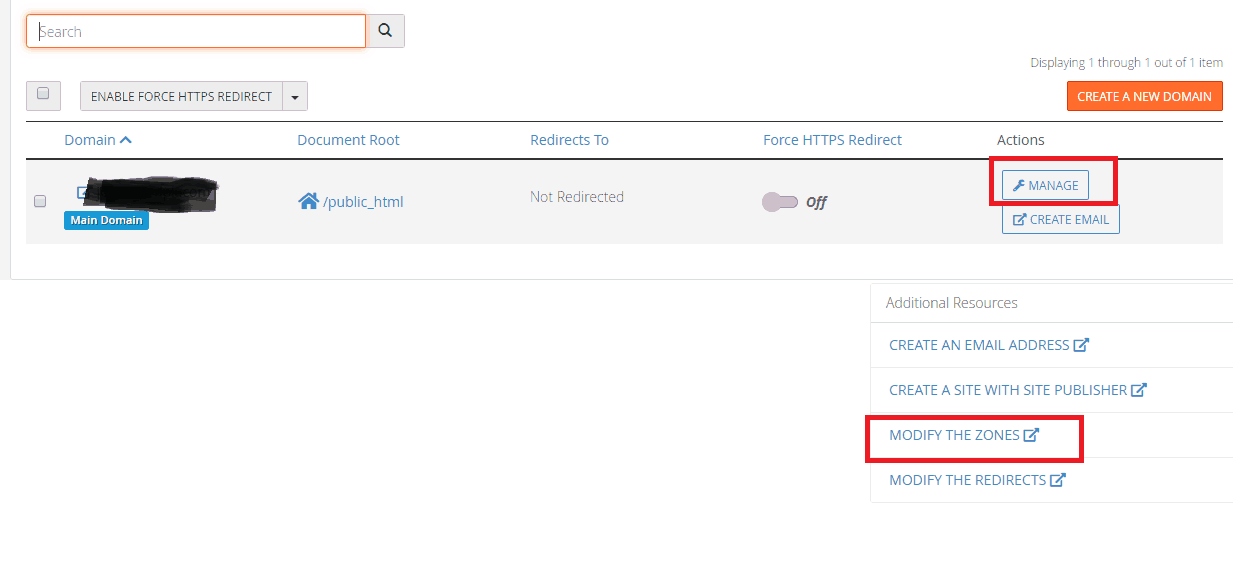
- Select the custom domain you want to map to your BlogSpot blog and click on manage.
- Click on “modify the zones”.
- Select CNAME and then click on “Add a Record”.
- Add the two records provided by BlogSpot one by one. Make sure to select CNAME while entering the records.

This was all about how to map a custom domain to a blogger account. If you have any questions or difficulty in understanding the topic, please provide your valuable feedback in the comment section. We will try our best to help you add a custom domain to the blogger account.


