This article aims to guide you through the process of installing WordPress on a local host. It provides a step-by-step explanation of the procedure, accompanied by relevant screenshots.
For the installation of WordPress on the local host, you can utilize the XAMPP server. XAMPP stands for cross-platform Apache, MariaDB, and PHP. This server offers convenience to developers by allowing them to deploy the server on the localhost for testing purposes. By creating your website on localhost, you can complete all the necessary posts and pages before eventually hosting it on a custom domain. The article will begin with the development process on localhost and conclude with the steps to host the website on a domain.
Table of contents
Step 1: Download XAMP Server
To get started, you will need to download both XAMPP Server and WordPress. WordPress is typically available in a compressed format, so you should unzip it first. Afterward, place the unzipped WordPress folder into the “htdocs” directory of your XAMPP server. Refer to the accompanying figure for further clarification on this process.

Step 2: Create a Database
To begin, launch the XAMPP server and start both the Apache and MySQL services from its control panel. Open your web browser and type “localhost/phpmyadmin” in the address bar. Once the phpMyAdmin interface loads, click on the “Databases” tab. Enter the desired name for your database and click on the “Create” button. This is how you create a database on the XAMPP server. For further visual guidance, refer to the accompanying figure.

Step 3: Starting Installation
Next, enter “http://www.localhost/wordpress” in the address bar of your web browser. The default language selection is English, so no changes are needed. Simply click on the “Next” button to proceed.

Step 4: Provide Website Information
Choose the database name that you previously created in phpMyAdmin. Select the username as “root” and leave the password field blank for now. Keep the database host and table prefix unchanged. If you have entered all the information correctly, you will be directed to the next screen. Click on “Run the Installation” to proceed. The subsequent screen will be displayed.

Step 5: Provide Username and Password
Select a suitable title for your site, and choose a username and password. Ensure that your password is robust by including a combination of lowercase letters, uppercase letters, digits, and special characters. Make it as strong as possible to prevent any guessing. Additionally, provide an email address to receive the installation details. If you prefer your site not to be indexed yet, check the option “Discourage search engines from indexing this site.”
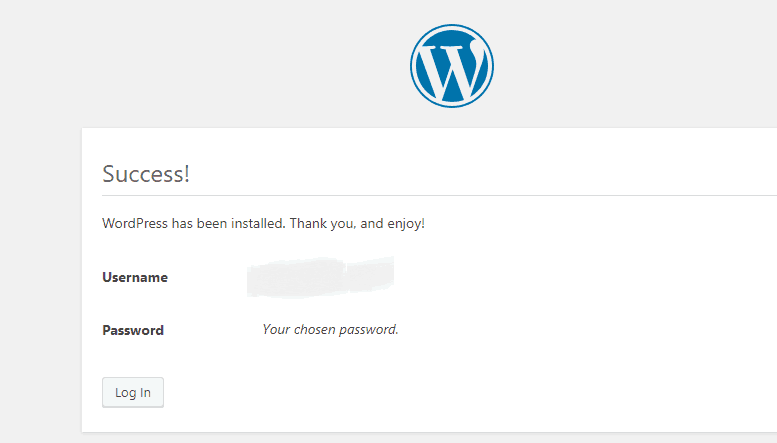
Once you encounter the following screen, it indicates a successful installation. Click on the “Login” button to access your site. Enter the username and password that you had set during the installation process. This concludes the process of installing WordPress on localhost using the XAMPP server in our example.
Conclusion
This was a complete procedure of Install WordPress on the localhost. If you have any queries, ask them in the comment section. Your feedback will be highly appreciated.


